


This guide explains how to set up our university email in the Gmail app on our mobile device.
Step 1 – Open the Gmail App #
Open the Gmail app on your device.
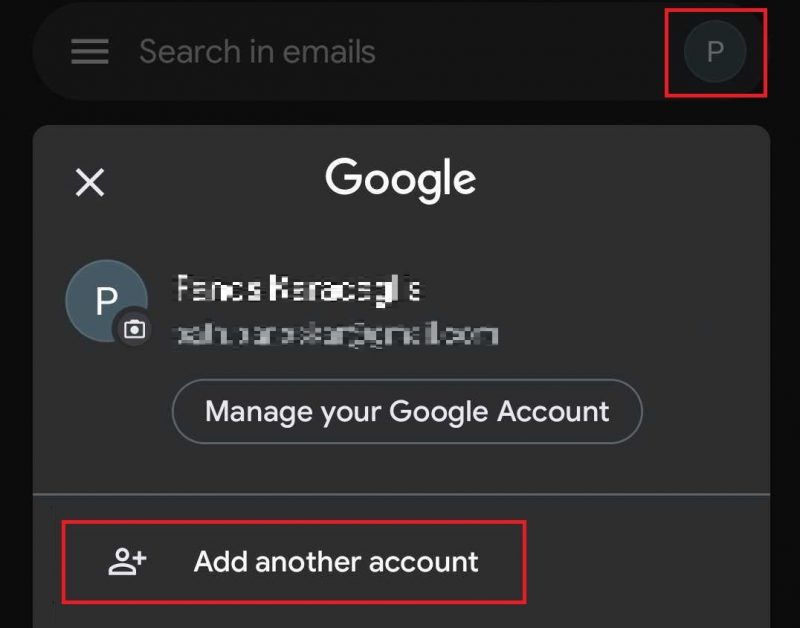
Tap the icon in the top-right corner of the app, then select Add another account.
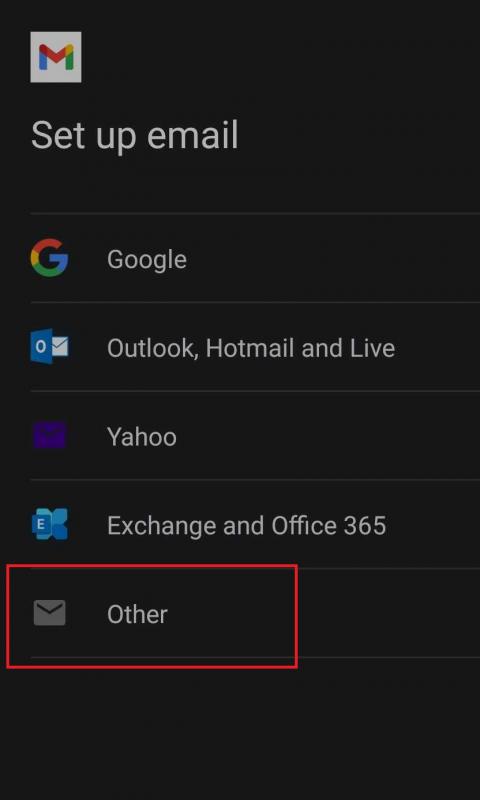
Click on Other.
Step 2 – Enter Email Address #
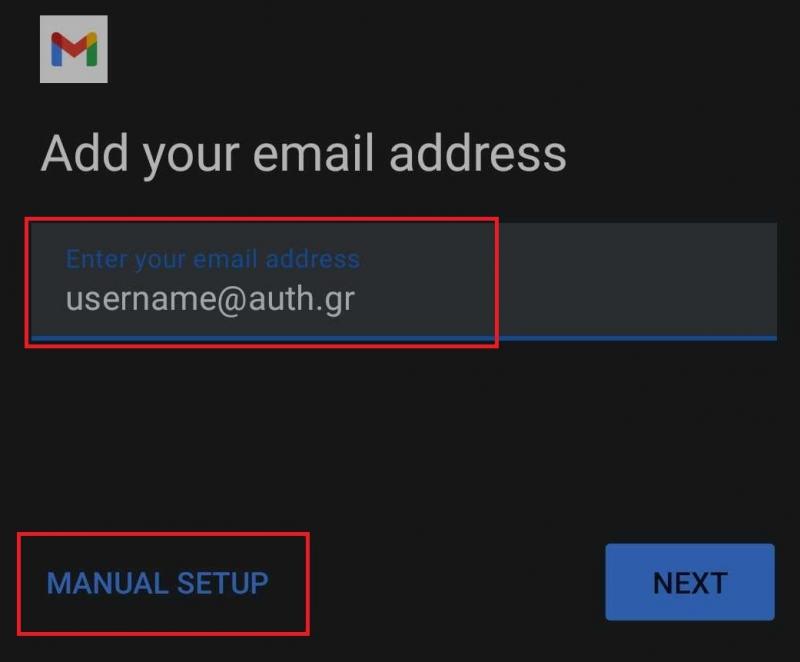
Next, enter your institutional email address and select Manual setup.
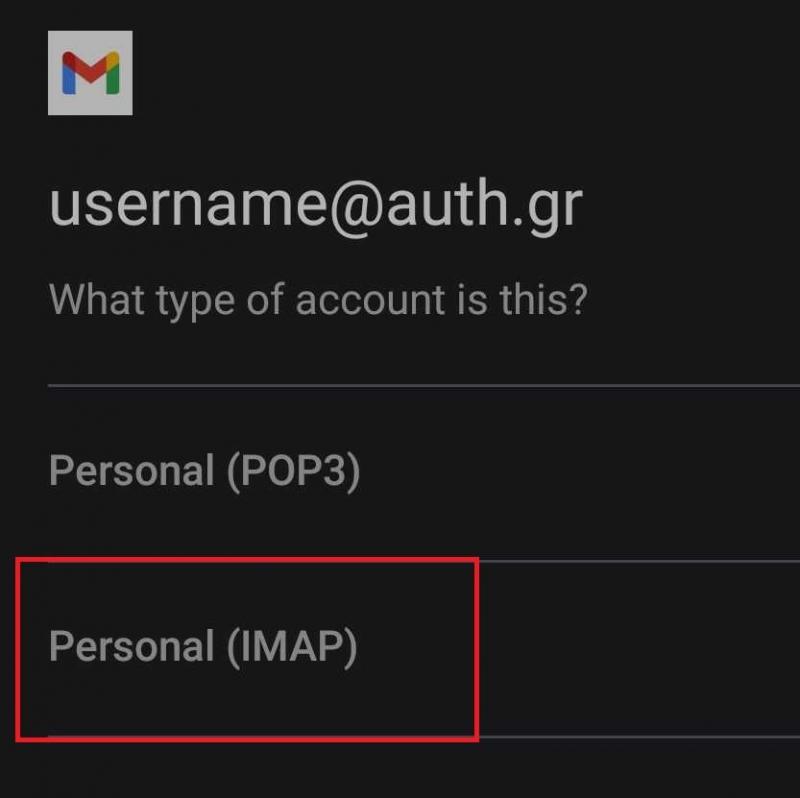
In the next window, click on IMAP.
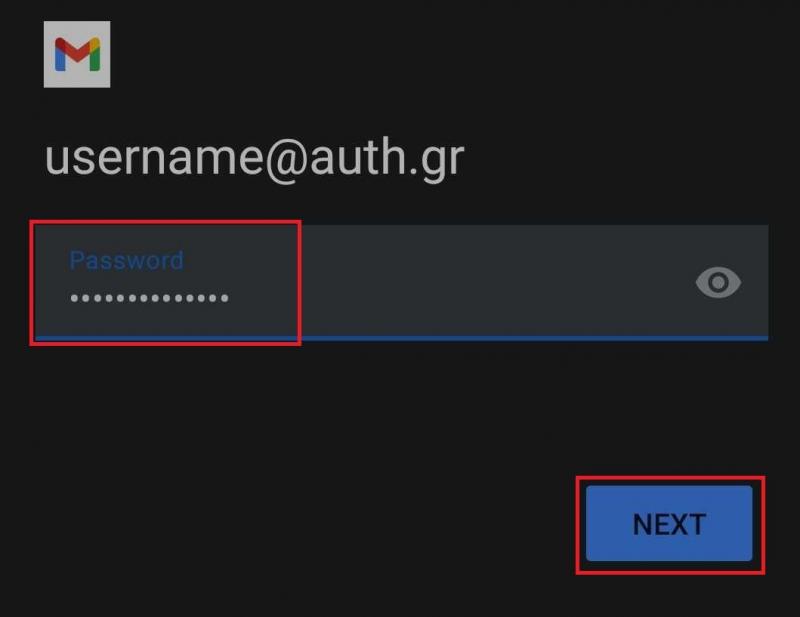
Enter your institutional user account password and click Next.
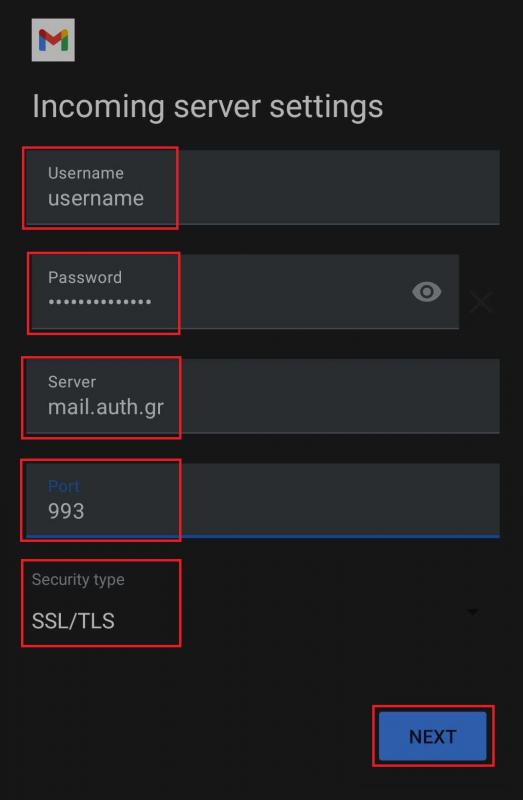
Step 3 – Correct the “Username” Field #
- In the Username field, correct the value so that it shows only your username (not the full email address).
- In the Password field, enter your institutional user account password
- In the Server field, enter mail.auth.gr.
- In the Port field, enter 993.
- In the Security type field, select SSL/TLS.
Finally, select Next.
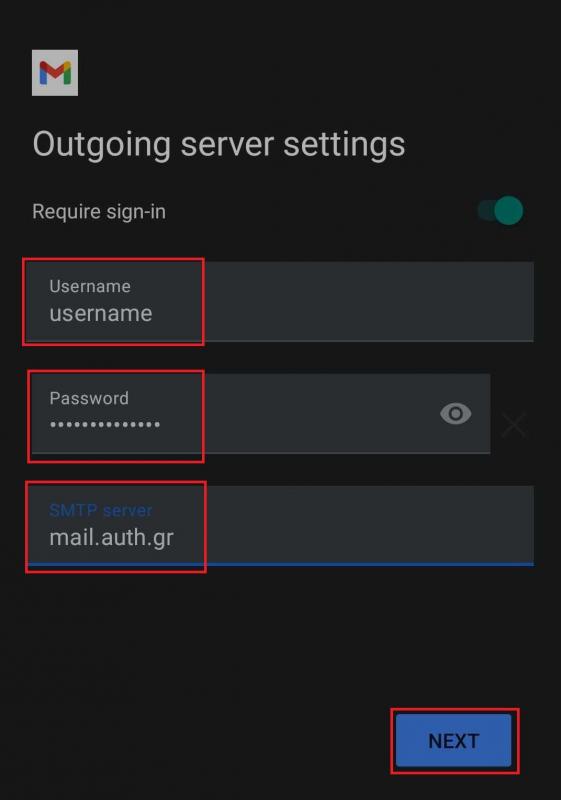
In the next window, verify that your account’s username and password are filled in. In the SMTP Server field, enter mail.auth.gr and select Next.
Note: At this point, if prompted, fill in the following additional fields:
- Port: 587
- Security Type: STARTTLS
Step 4 – Select Email Sync Frequency #
Next, you can choose how frequently your email will be synced.
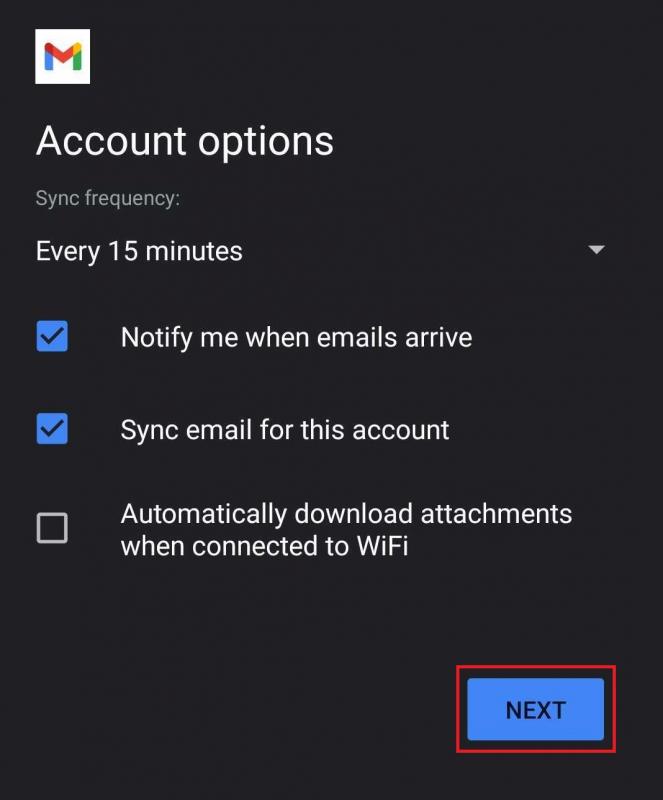
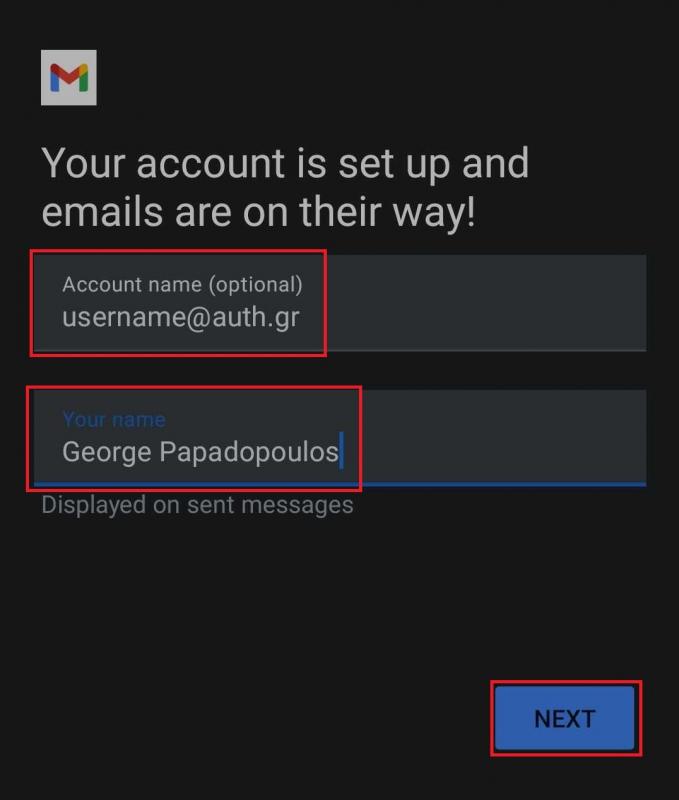
Finally, you optionally enter an Account Name in the corresponding field and, in the next field, the Your Name value that recipients will see when receiving your messages. After selecting Next, the configuration process is complete.